← Back to Projects
Stormbreaker
Work on Stormbreaker began in 2019. My best friend Tony wanted a prop warhammer to use when cosplaying as Sad Post-Snap Thor at San Diego Comic Con 2020, and I had just bought a 3D printer, a Creality CR-10S that we affectionately named Carl.
We used this model from Magnavis. It prints in a bunch of pieces and fits together with superglue and all-thread. Because we wanted the prop to be relatively durable, we opted to print it out of PETG. We ended up regretting this decision down the road.
The prop took over 100 hours to print, and is surprisingly heavy, even without the all-thread support rods.
We’d printed most of the parts and started some of the assembly by the time the pandemic hit in 2020. At that point, it was clear that SDCC 2020 wasn’t going to happen. Carl was pressed into service printing hundreds of face shields for hospitals, and work on Stormbreaker stopped.
Stormbreaker sat in several large pieces in my garage for the next few years, until I finally overcame inertia and pushed it across the finish line.
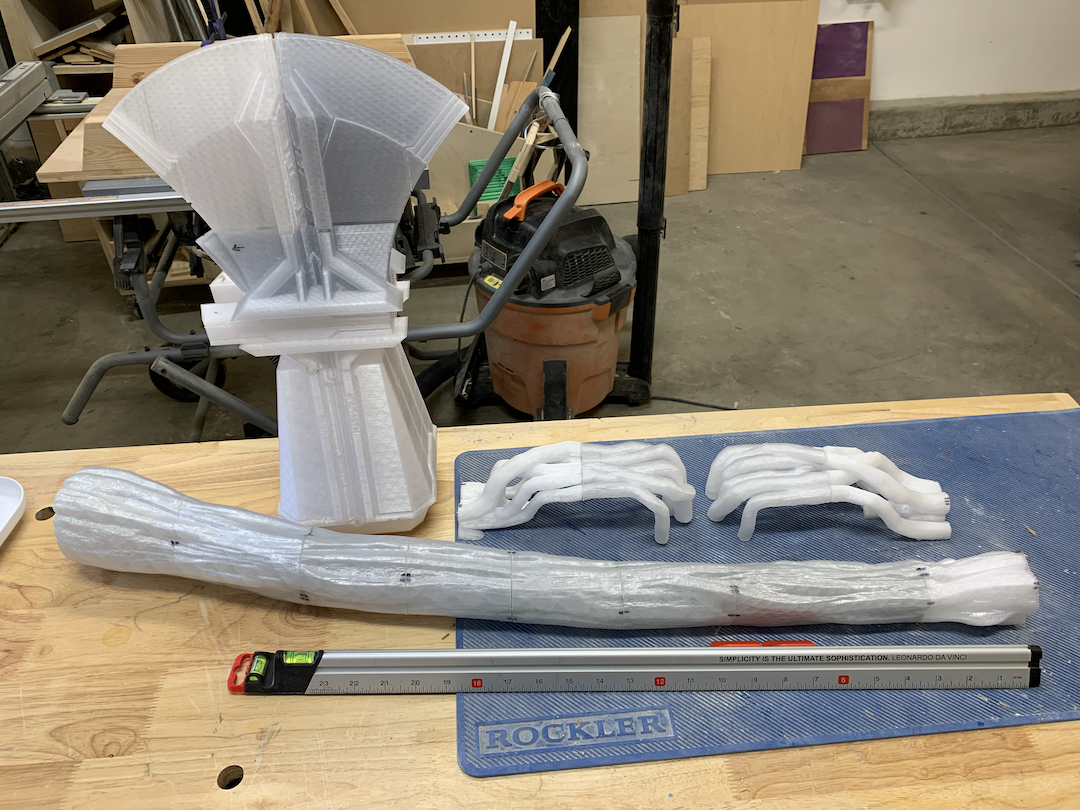
Stormbreaker’s major pieces, post glue-up.
One of the biggest challenges with gluing Stormbreaker together was hiding the seams between the parts of the print. In theory, these gaps should have been pretty small, but PETG has well-known problems with curling off of the print bed, which made gaps between parts much wider than they would have otherwise been. This was particularly true of the axe portion of the head: you can see the large gap between the right and left halves of the axe in the image below.
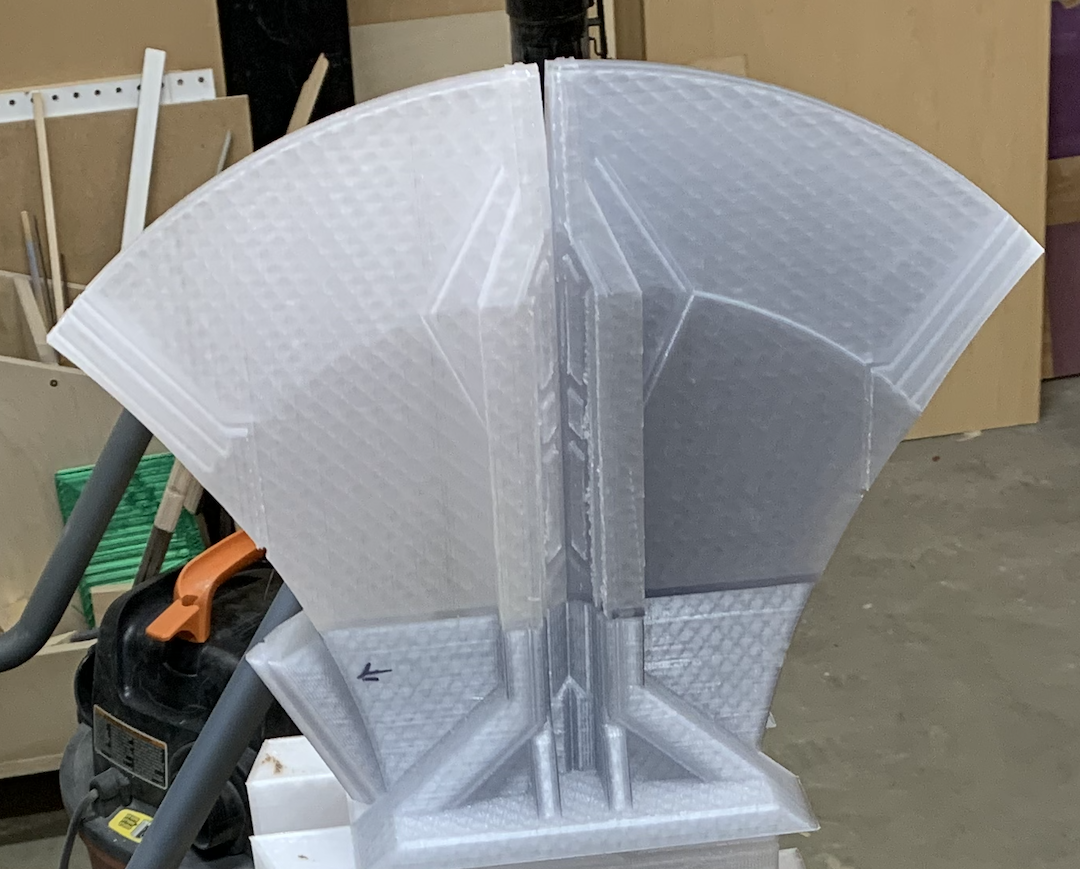
A closeup of the axe portion of the head, highlighting the gap.
Ultimately, I filled in the gaps with a generous amount of Bondo, a 3D pen, and a lot of sanding and filler primer.
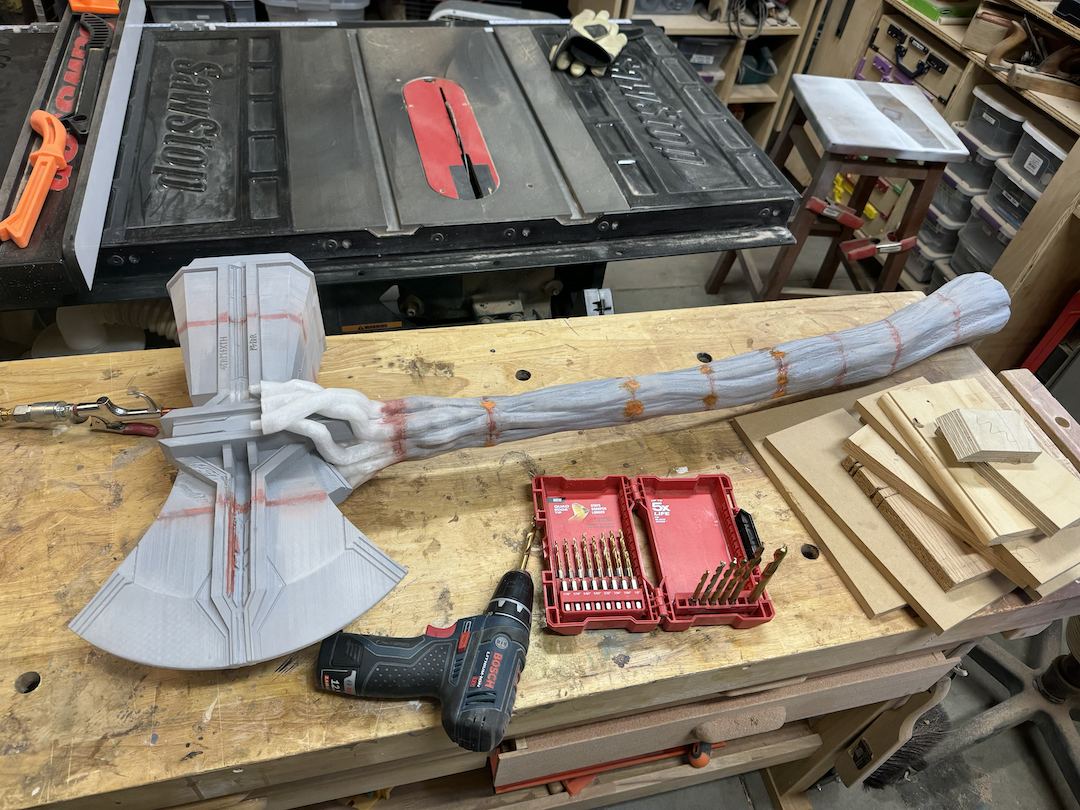
The hammer’s head and shaft, partially assembled.
After all surfaces had been thoroughly primed and sanded, I applied a base coat to both the head and the shaft of the hammer. For the shaft, I used some run-of-the-mill brown spray paint. The head is painted in a “metallic” gray spraypaint.
After the base coat dried, I applied a lot of weathering to the shaft with some watered-down black acrylic paint to get it looking a lot more like wood and to cut some of the base coat’s shininess. I hit the head with a metric ton of Rub ’n Buff, which really does a spectacular job at getting plastic to look like metal.
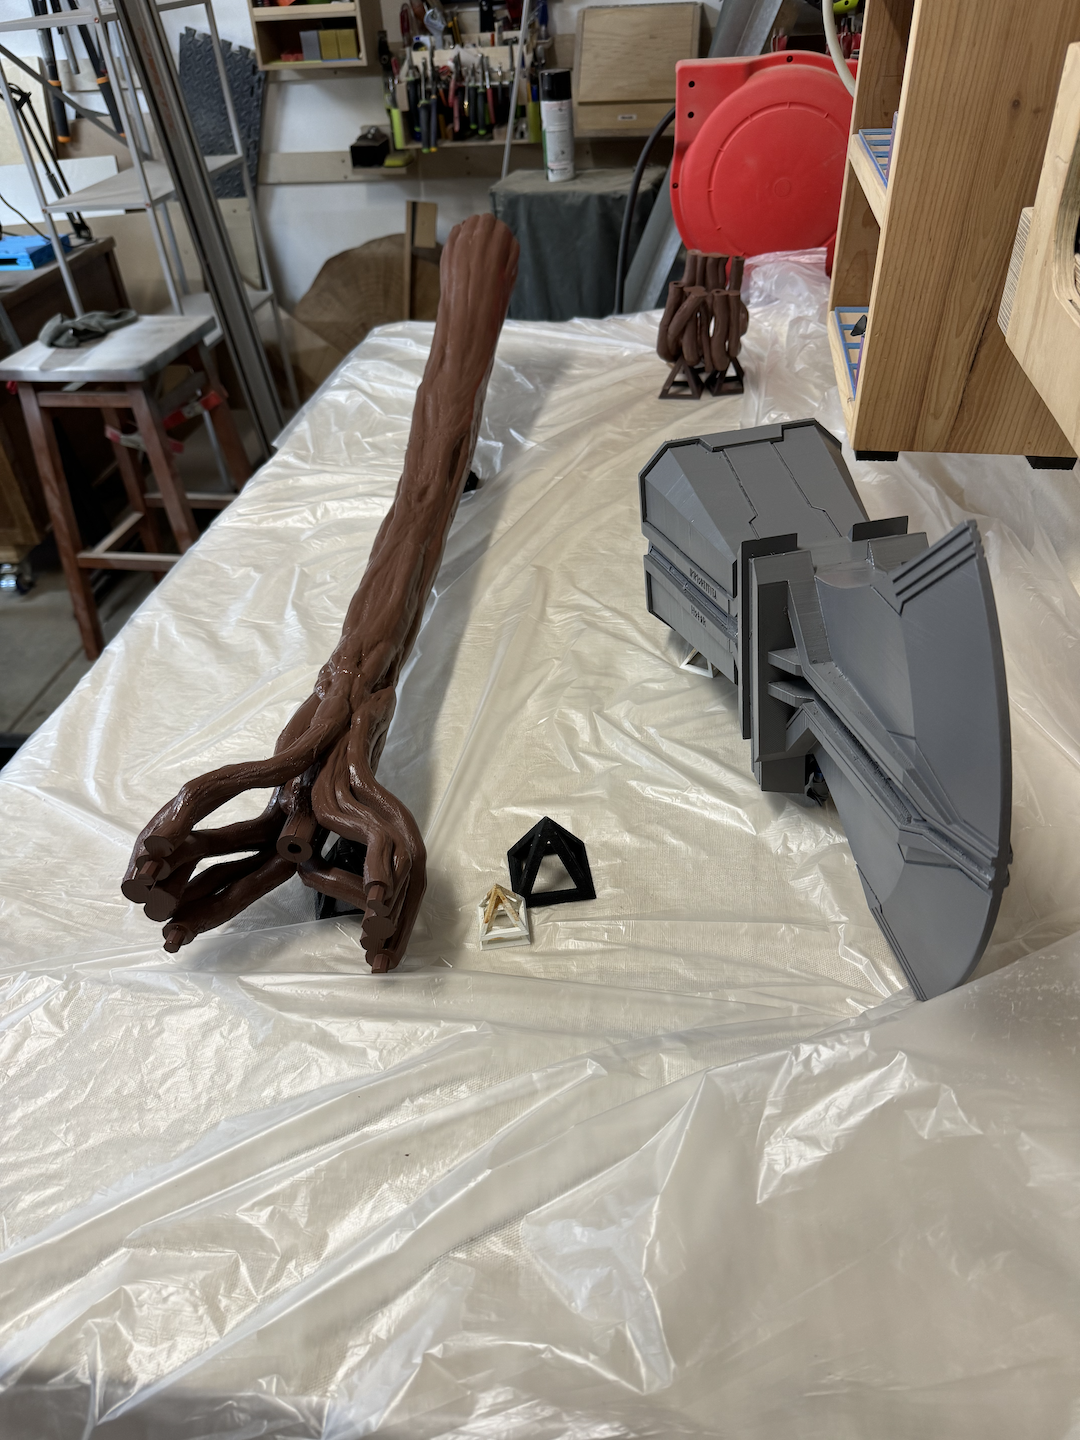
The initial paint job.
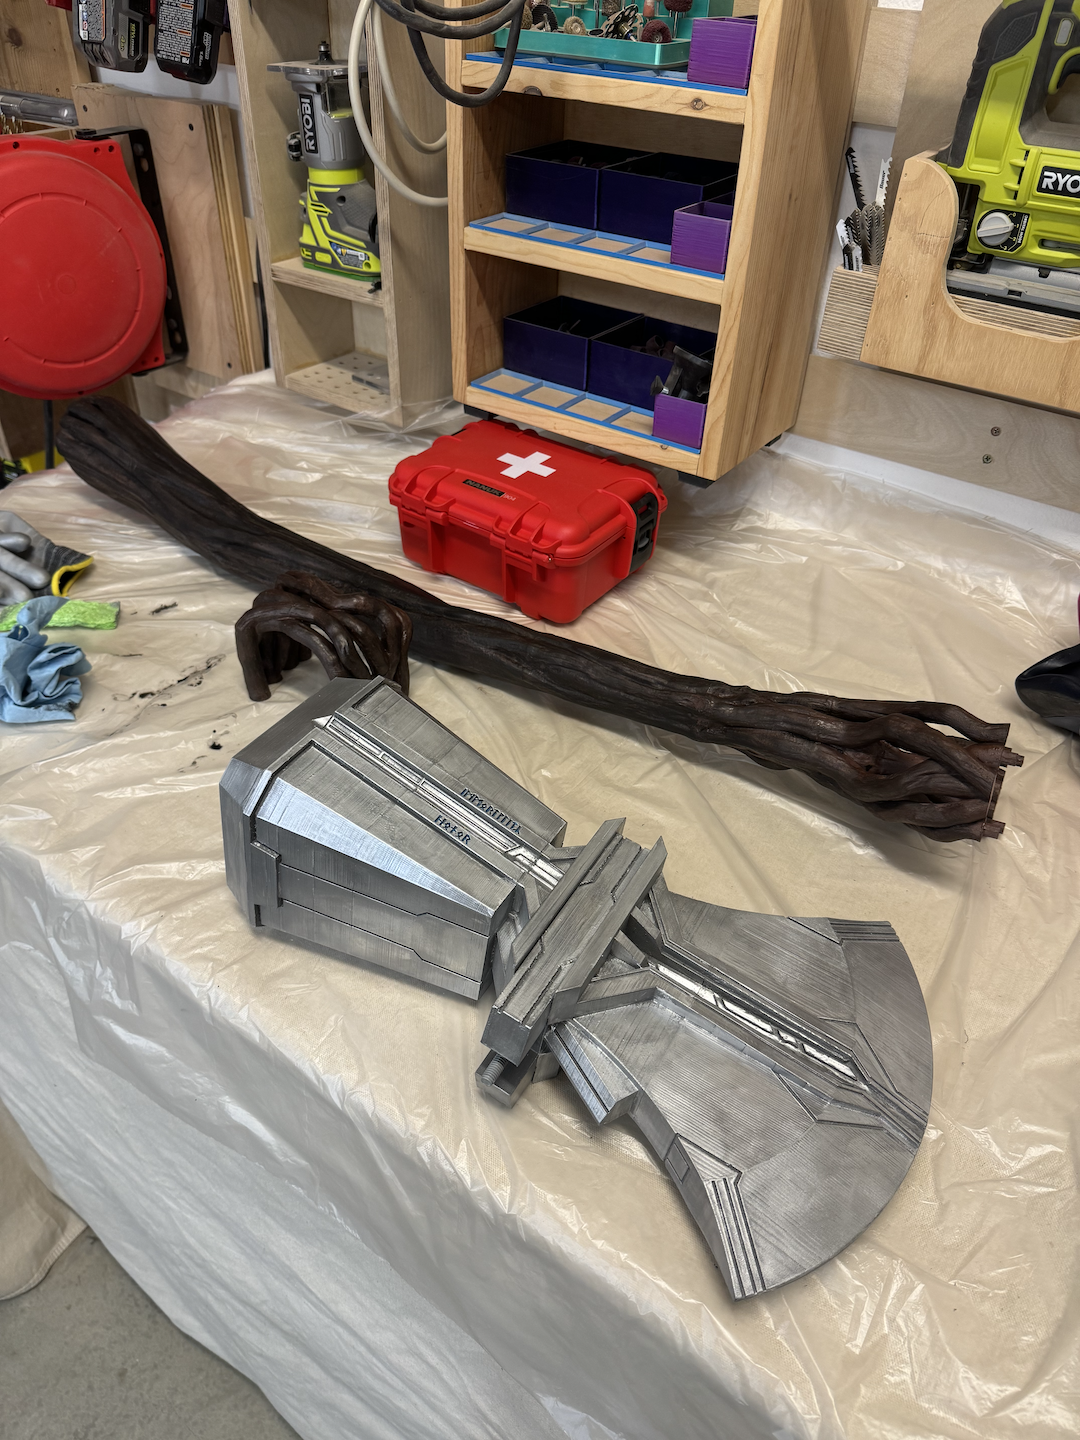
The final paint job.
With the paint job finished, all that was left to do was fully assemble the prop. It’s large and heavy enough that I also needed to figure out where to store it, so now it lives on my office wall.
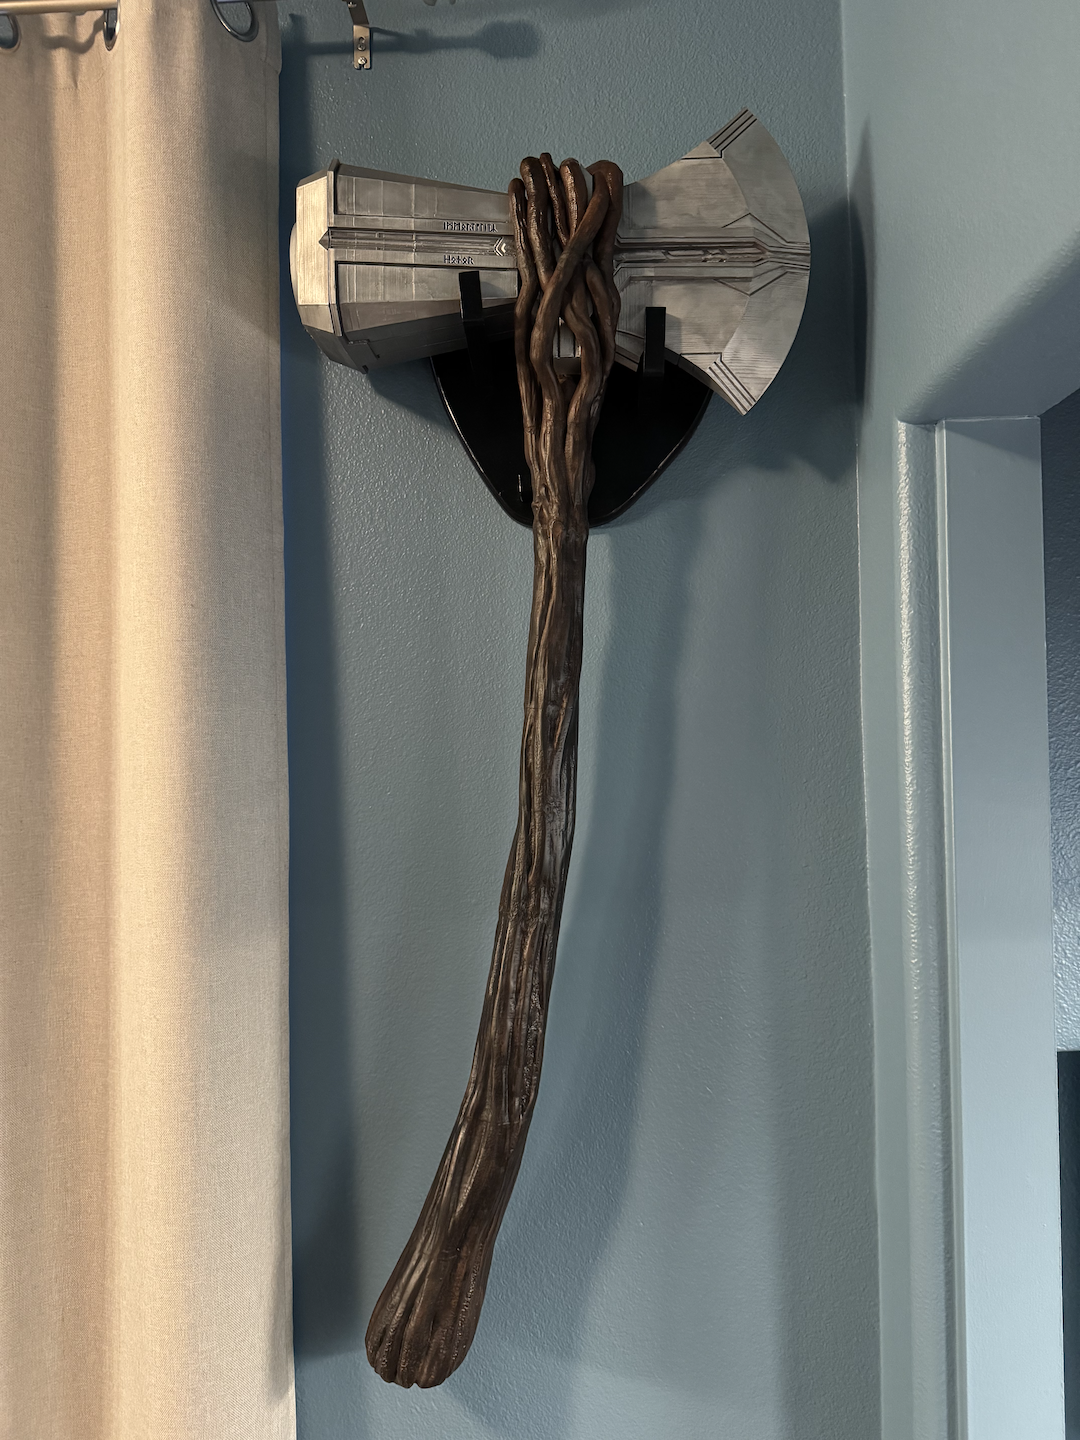
The finished product.